

The 5 Stages of Your 3D Printing Journey: From Curiosity to Mastery
Last Updated: April 15, 2026
Reading Time: 5 Minutes
Last Updated: April 15, 2026
Reading Time: 5 Minutes
Browse products related to the article

$11,884.30


$5,058.90


$18,975.00
Every 3D printing journey follows a predictable path. Whether you are a teacher setting up a classroom lab or an engineer prototyping parts in house, the progression from first print to production ready output looks remarkably similar. Here are the five stages most users move through, and what to expect at each one.
MakerBot mapped these five stages after nearly ten years of building 3D printers and training thousands of users. The pattern holds for schools running design projects and factories producing custom jigs. Knowing where you sit in this 3D printing journey helps you plan your next step and skip the common traps.
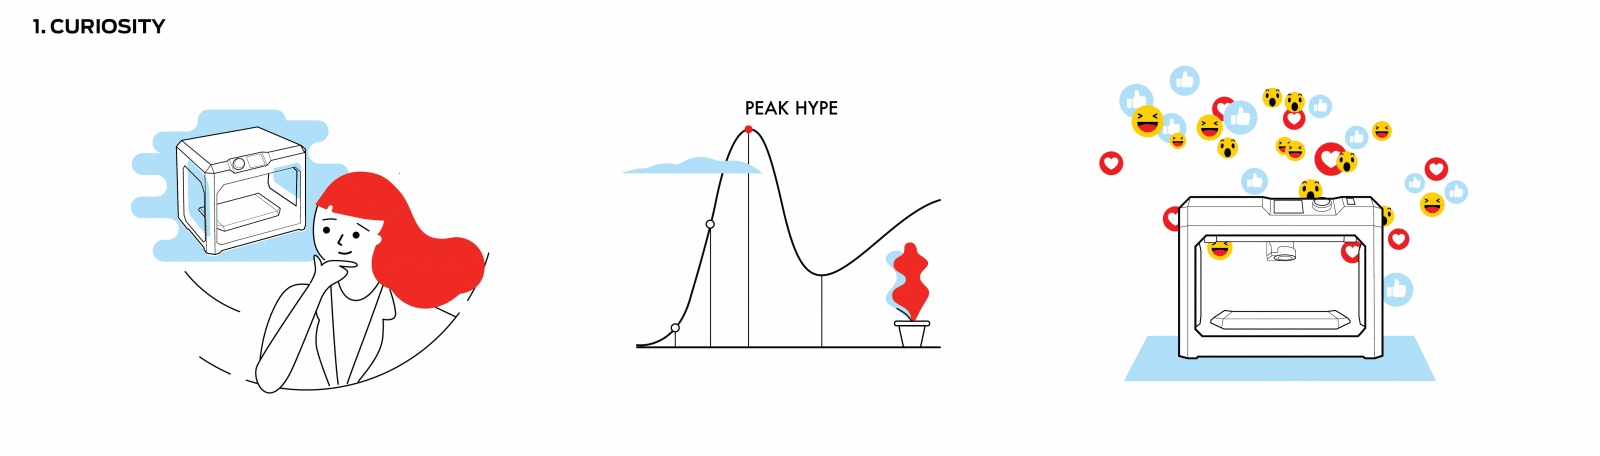
For example, most people encounter 3D printing online before they ever see a printer in person. A news article about 3D printed prosthetics, a video of a full colour prototype rolling off a build plate, or a colleague mentioning they printed a replacement bracket in house. That first exposure plants the question: could this work for us?
At this stage, learning 3D printing feels abstract. You know additive manufacturing exists. You are not sure what it costs, how long prints take, or what materials are available. That is completely normal. Curiosity is about collecting information, not making decisions.
If you are here right now, start with a clear question: what problem would a 3D printer solve in your workplace or classroom? Anchoring your research to a specific use case will accelerate every stage that follows.
As a result of that initial spark, curiosity sharpens into research. You start reading case studies, watching printer reviews, and comparing specifications. The applications become tangible:
Manufacturing: Custom jigs, fixtures, and end use parts printed in 4 to 12 hours instead of waiting 3 to 6 weeks for external tooling
Education: Over 25,000 students across 55+ schools using MakerBot printers for STEM and design thinking projects
Prototyping: Functional prototypes tested and iterated in 2 to 5 days, not 6 to 8 weeks
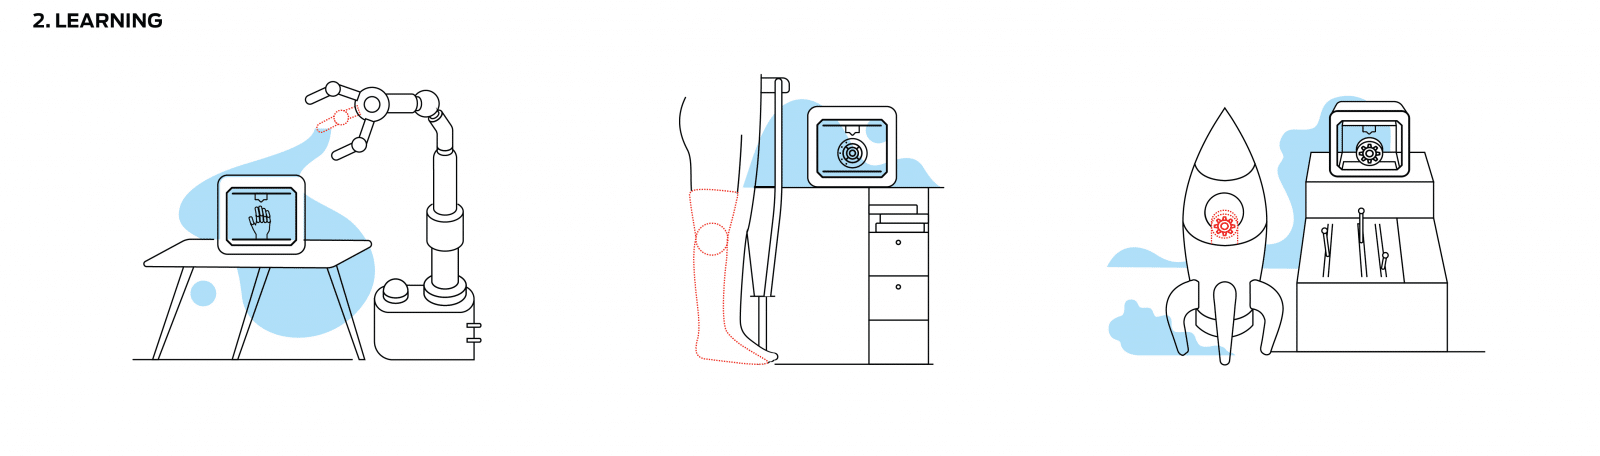
This stage is where 3D printing for beginners shifts from "that sounds interesting" to "we need one." You start comparing FDM and SLS technologies, looking at build volumes, and calculating ROI against outsourced prototyping costs.
Beyond the printer itself, you will encounter slicing software, material choices, post processing steps, and ongoing maintenance. A printer like the MakerBot Sketch is purpose built for users at this stage, with guided setup and cloud based print management that flattens the learning curve. For anyone comparing a 3D printer in Australia, this stage is where you narrow your shortlist.
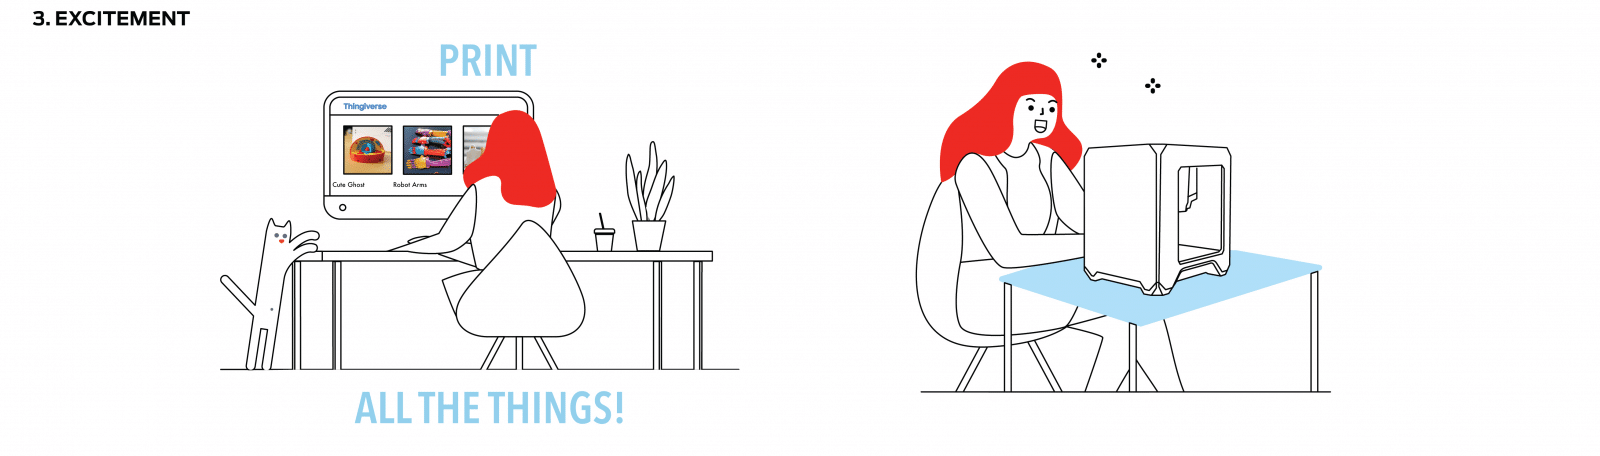
Building on that research, hands on experience seals the deal. Watching a design you created on screen take physical form on the build plate is genuinely satisfying. Most new users head straight to MakerBot Thingiverse, download models, and start printing everything from phone stands to gear assemblies.
Momentum builds fast. Teachers print terrain models for geography lessons. Engineers print fit check prototypes before committing to CNC machining. Designers iterate on form factors in hours instead of weeks.
One risk at this stage is scattered focus. Printing a dozen novelty objects is fun, but the real value of additive manufacturing comes from applying it to a specific workflow problem. Channel the excitement into a project that delivers measurable results, whether that is reducing a prototyping cycle from four weeks to four days or giving Year 9 students a hands on design project.

Consequently, as you push beyond basic prints, reality sets in. A print warps overnight. Support material fuses to the model. Dimensional accuracy is off by 0.5mm and your part does not fit. These setbacks are not failures. They are the natural cost of pushing your skills forward.
Common challenges at this stage include:
CAD skills: Moving from downloading models to designing your own requires learning software like Tinkercad, Fusion 360, or SolidWorks
Print settings: Layer height, infill density, support structures, and bed adhesion all affect the final result
Material behaviour: Different filaments (PLA, ABS, PETG, Nylon) behave differently under heat, stress, and humidity
Users who push through this stage share one thing in common: support. A reliable 3D printer from a reputable Australian supplier comes with local technical support, warranty, and training resources. That backing makes the difference when you hit a wall at 2am before a project deadline.
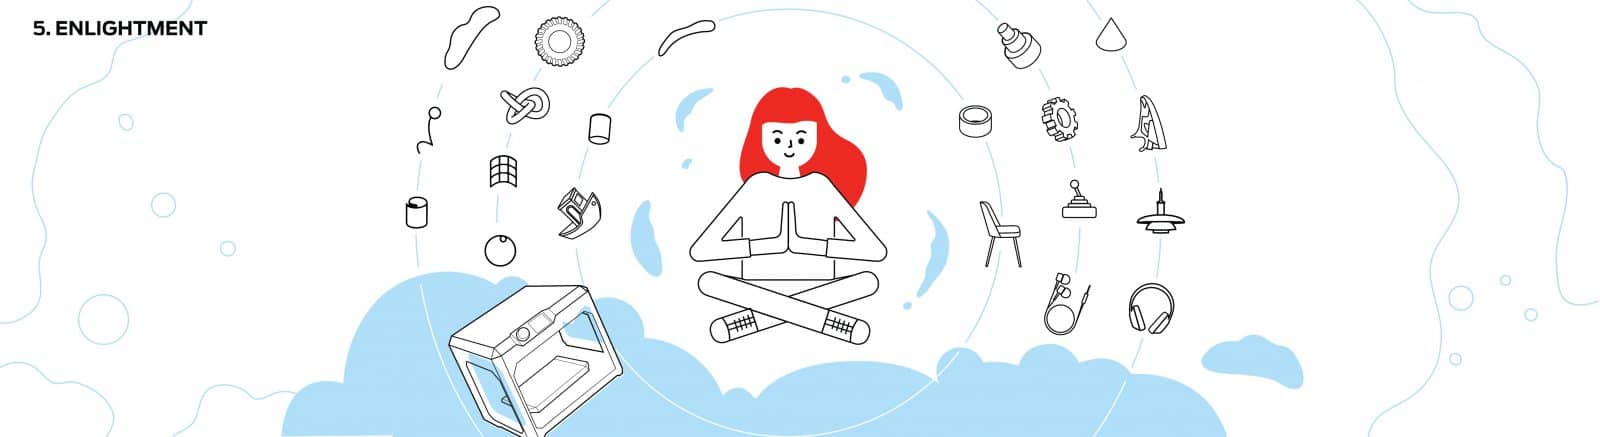
Similarly, working through setbacks builds real competence. Mastery does not mean you know everything. It means you solve problems efficiently. You diagnose a failed print from the first layer. You pick the right material for each application. You design parts with printability in mind from the start.
At this stage, 3D printing stops being a novelty and becomes infrastructure. Manufacturers embed it into production for tooling and small batch parts. Schools build it into their curriculum as a core skill. Research labs produce custom apparatus that would cost thousands to machine externally.
Strategies that accelerate mastery include:
Post processing: Sanding, vapour smoothing, and painting transform a rough print into a professional grade part in under 30 minutes
Print orientation: Rotating a model 45 degrees on the build plate can cut support material by 50% and improve surface finish
Material upgrades: Moving from PLA to Nylon Carbon Fibre or PETG increases tensile strength by 3 to 5 times for functional applications
This means wherever you sit on the path, the right printer and the right support make the transition smoother. Australian 3D Printers works with schools, universities, and businesses across Australia to match the right machine to the right application.
If you are exploring 3D printing for the first time, the MakerBot Sketch range is built for learning 3D printing with minimal setup. For engineering and manufacturing teams ready to scale, the UltiMaker S8 delivers industrial precision with professional support.
How long does it take to learn 3D printing?
Most users produce a good first print within a few hours of unboxing. Getting confident with custom designs and advanced settings takes 2 to 4 weeks of regular use. Prior CAD experience speeds things up, but it is not required.
Which 3D printer is best for beginners in Australia?
The MakerBot Sketch range is designed specifically for 3D printing for beginners. It features guided setup, cloud based print management, and enclosed build chambers for safe classroom use. For businesses, the UltiMaker S8 offers a broader material range with equally straightforward operation.
Is 3D printing worth it for schools?
Schools across Australia use 3D printing to teach design thinking, problem solving, and STEM skills. Calcasieu Parish School Board deployed 400 MakerBot printers across 55 schools, reaching 25,000 students. The hands on learning outcomes justify the investment for most education budgets.
How do I avoid common 3D printing mistakes?
Poor bed adhesion, incorrect print settings, and choosing the wrong material for the application account for roughly 80% of print failures. All are solvable with basic troubleshooting. Buying from an Australian supplier with local support means you have someone to call when things go wrong.
Want to explore our full range of 3D printers? View the collection here.
Browse products related to the article
$11,884.30
$5,058.90
$18,975.00